"What happened when the turkey got into a fight?
He got the stuffing knocked out of him!"
I have finally done it - I have actually roasted a turkey.
A turkey to me was always what seemed like the standing symbol of the American holidays. I always envisioned a family, sitting around the table, clad in tacky wool knit jumpers, and a MASSIVE HULKING turkey in the middle of the room. They would get loud and just a little tipsy, and start singing carols as it began to snow outside. That scene was what I would envision every time someone mentioned the term Christmas holidays.
Well, apparently that's not confined to America anymore! When I told my friends that I was roasting a turkey, their instant response was, "Yum! Christmas has come early this year!"
Christmas or no Christmas, I have never consumed or cooked a turkey before. Which made this seem like a daunting task, because I didn't even know what I was aiming for. What do I do with it? Where do I start?
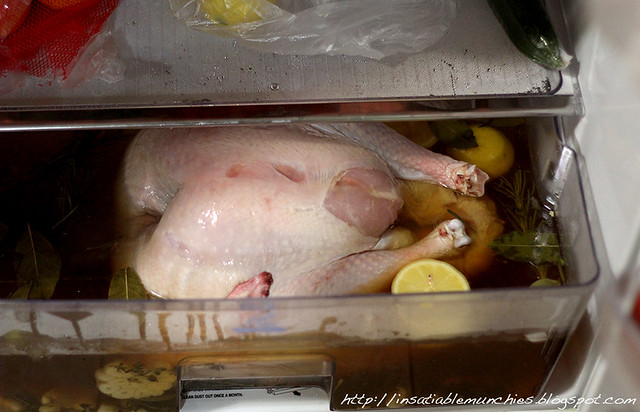
The starting point, it seems, is with a brine. I was told that a brine is the first step to a turkey, and because I love LOVE salting my meats, it seemed a good place to start for me too.
The Brine
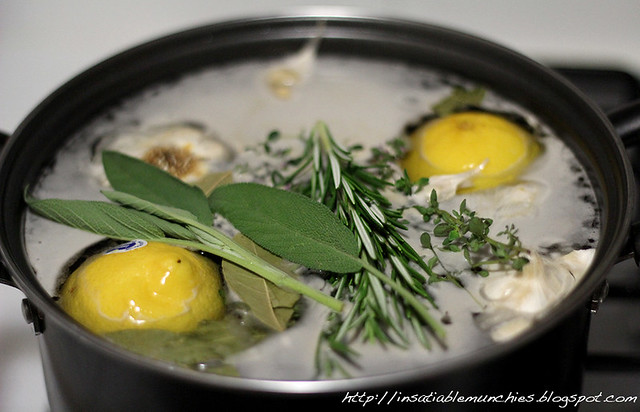
All the recipes for brine appear to include salt and sugar as the base, and then using other ingredients to build up the flavour and aromatics from there. The recipe that I used is really an amalgamation of everything that I had read, tweaked for the ingredients in my cupboard.
Turkey Brine:
8L of Water
1 cups of Honey
2 cups of Brown sugar
2 cups of Salt
2 Lemons, halved
2 heads of Garlic, halved to expose cloves
3 or 4 Bay leaves
1 tbsp of Mustard Seeds
bunch of Sage
bunch of Lemon Thyme
bunch of Rosemary
Put everything into a pot - I had to do this in 2 batches - and bring to the boil. Let cool, and put brine into the vessel in which you'd like to brine your turkey.
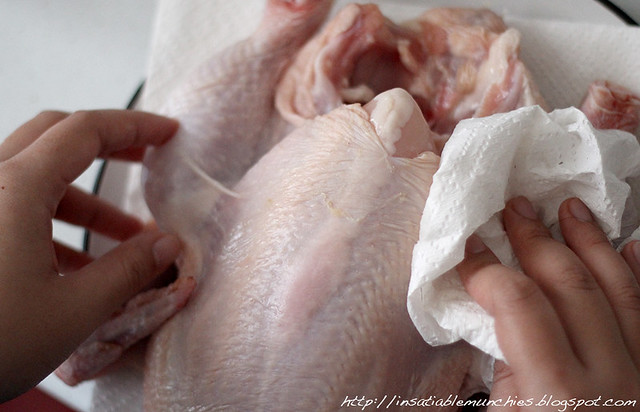
Unwrap your turkey and pat dry with paper towels. Dunk turkey into brine and leave overnight. Personally, I left it in there for 16 or so hours, turning the turkey halfway through because I didn't have enough brine to cover the turkey completely.
 The Stuffing
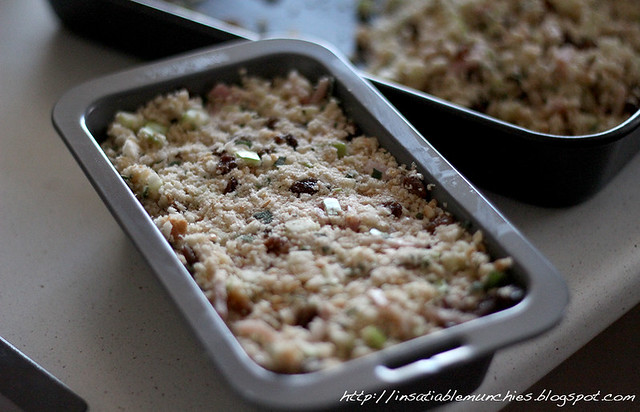
Stuffing, to me, was just seasoned breadcrumbs there to soak up the juices in the cavity of birds, providing a delicious sort of savoury pudding to be had with the bird. It wasn't until recently that I found out that stuffing could be a separate entity, and have its own flavours to complement how you decide to season your poultry.
The stuffing recipe I chose was taken off the
Ingham website, and was definitely a really good partner to the turkey recipe it accompanied.
Turkey Stuffing
1 large brown onion, diced
3 rashers bacon, rind removed and chopped
8 cups of breadcrumbs
1/2 cup pecan nuts, chopped
1 egg, whisked
2 tbsp fresh thyme leaves
Butter
Sautée the onion and bacon in the melted butter.

If you want, you can also render the fat off the rind that has been removed from the bacon. Then you have little bits of pork crackling to snack on! ...Don't look at me like that, did I say this was a healthy recipe? No. But it's delicious.
Moving on.
Add all the ingredients into a bowl and mix thoroughly.
A note about the breadcrumbs: I much prefer fresh-ish breadcrumbs as opposed to the dried breadcrumbs that you get from the supermarket as I like the fluffy texture that you get from fresh breadcrumbs when all the juices have been absorbed. But fresh breadcrumbs usually require some bread, and some processing.
Now if you'd like to make fresh breadcrumbs and do not have a food processor, then you have to resort to other unorthodox methods to get them. Initially, the tip I read online about having a frozen loaf of bread and beating it with a rolling pin seemed really interesting.
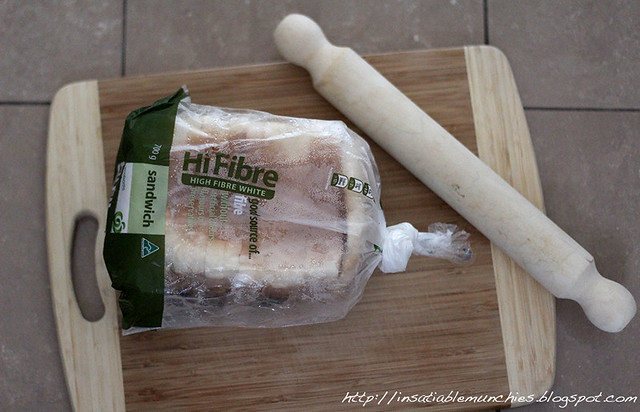
However, the bread seemed to thaw wayyy too quickly, and was more likely to turn to mush. So I decided to grate the frozen pieces of bread instead.
And it works! Yes, you'll end up with some larger pieces that you will have to chop up with a knife, but it's all still relatively easy and oddly therapeutic.
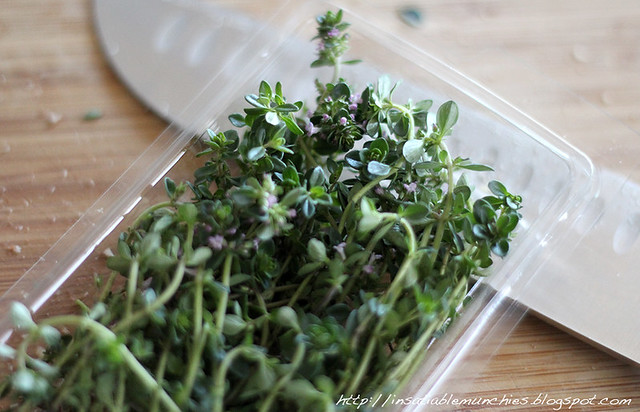
Also, instead to regular thyme I used lemon thyme, which smells
heavenly and looks oh so pretty!
I also made Apple and Raisin stuffing that I put just into loaf tins to bake. You never know when you will run out of stuffing. I just followed
this recipe, and adding a splosh more chicken stock because stuffing in a pan will not be able to soak up juices from a roasting bird, and will need more moisture to help it along.
The Roasting
125g butter, softened
1/2 cup pecans, finely chopped
1/2 cup maple syrup
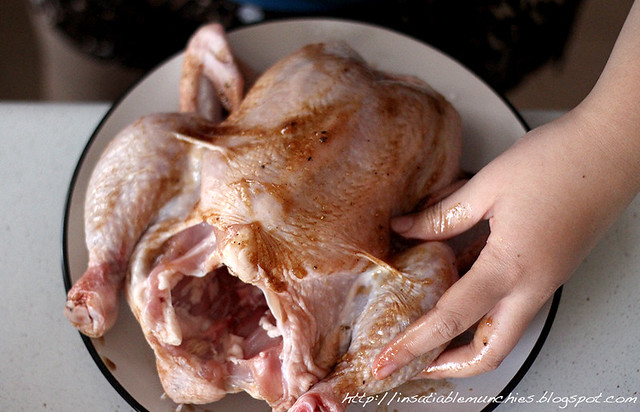
This is the simplest step. Preheat your oven to 180C, and take your turkey out of its brine. I didn't have that much space to work with, so I sanitised a sink and put the turkey in there. Then, carefully separate the skin off the turkey breast with your fingers, and add a layer of butter. (You may or may not use all the butter, but if you don't, I had an idea that put it to good use.)
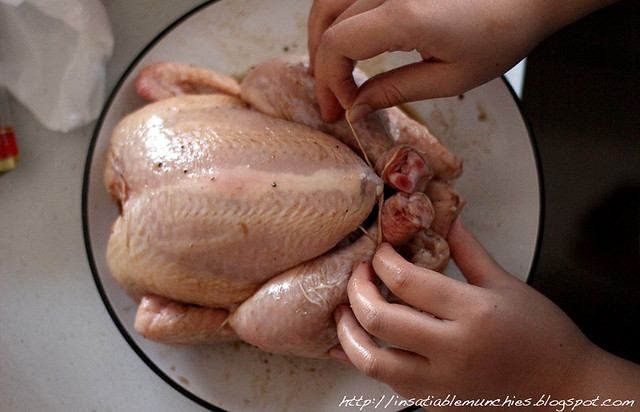
Next, stuff the turkey and truss it well. Place turkey on a rack in a roasting tray, and cover just the breast and the leg ends with foil to prevent them from over browning.
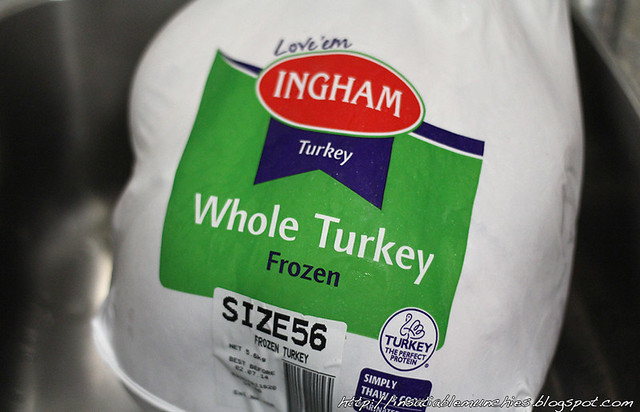
How long you roast your turkey for really depends on the size of turkey that you get. There were instructions on the Ingham turkey, but I had actually forgotten to look at them when I was prepping the turkey to brine. I did, however, find a recipe online that told me that my bird - which was 5 kilos and stuffed - required about 4 ish hours to cook. I then proceeded to cook my bird for 3 and a bit hours, then turned the oven off and let the bird rest in the residual heat of the closed oven for another hour or so while my guests arrived.

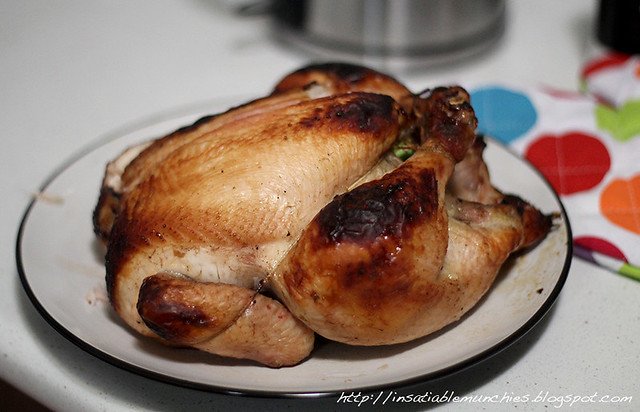
I know that I said I've never had turkey before, but this was delish! It had a deeper flavour - to me - than chicken, and had a denser texture. The skin was my favourite bit - as you do - and I attribute that to the brining. It had a slightly sweet taste to it and a light aroma that it otherwise might not have had.
Ok, so some bits of the bird browned a little bit more than I wanted it to, but I blame that on using a gas oven where the heat came from the bottom of the oven.
Either way, my dinner guests seemed happy with the result, and I packed the leftover turkey away with the juices from the bottom of the pan. Just so you know, it's definitely something worth doing, because the turkey seemed to taste SO MUCH MORE AWESOME the next day.
Oh, and that left over maple syrup butter? I squeezed out the garlic cloves from the brine, mashed it up, and sautéed it lightly with some regular butter. Then I added the garlic to the maple syrup butter and BAM! One of the more amazing garlic butters I've ever had, even if I do say so myself.
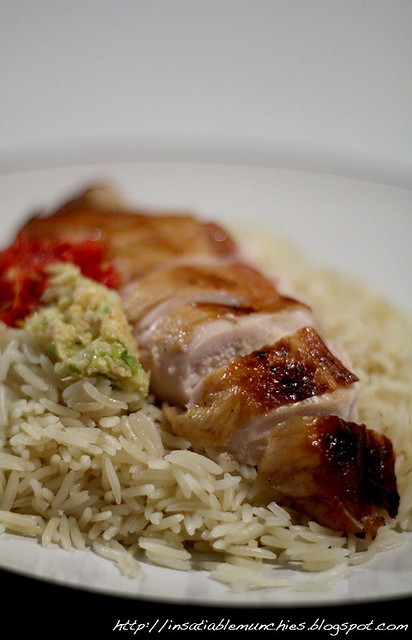
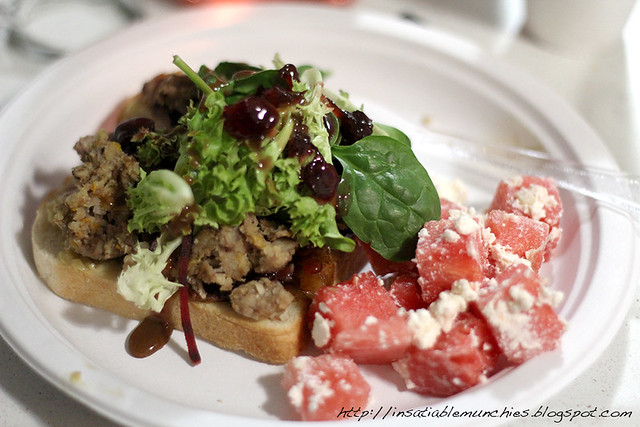
Spread that butter on bread, add the turkey, and then top with gravy and cranberry sauce of your choice. Voila! Tasty turkey sandwich! I also had a watermelon and feta salad on the side, which just made everything taste like summer. =)
Was the turkey a lot of effort? Definitely. But was the turkey worth the effort? I'd say yes. A whole turkey is not something that you think of making for dinner while on your way home from work on a weeknight. But it's definitely something that I would make for a Sunday night dinner with friends to impress.
Besides, the leftovers just sealed the deal for me. If nothing, it was worth it to then be eating the awesome juicy turkey in my meals for the rest of the week.
Note: Tammi from Insatiable Munchies was sent Ingham frozen turkey by the lovely people from Ingham and Beyond the Square Communications.
Labels: Dinner, Lunch, Party Food, recipes
